Paraglider Brakes – The Most Important Control
What are the Brakes on a Paraglider?
The brakes on a paraglider are the only direct controls that exist on a paraglider wing.
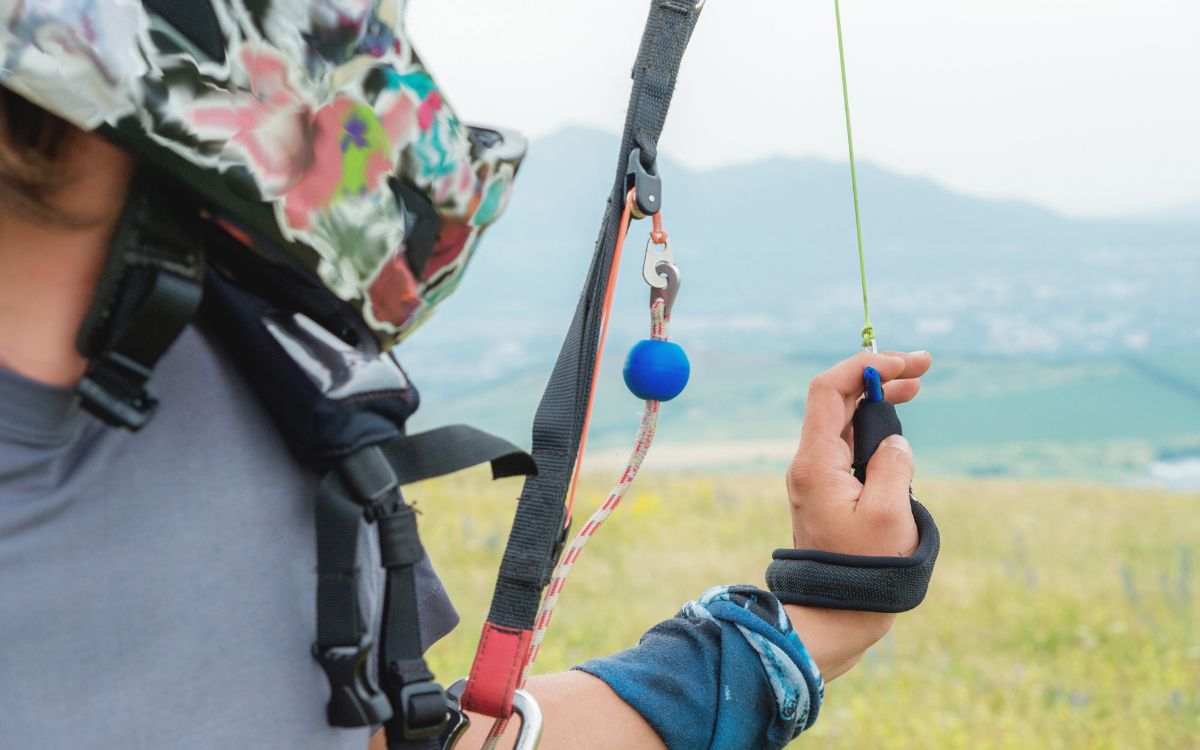
The brakes are a set of lines that connect to the entire back edge of the paraglider wing. They are used to change the shape of the wind to control it and are separated into two for the left and the right of the wing.
There are other controls like weight shift, and some of the main lines that can be used to control the glider but the brakes are the only lines dedicated simply to controlling the glider.
The brakes are essential and can have a very big effect on the glider’s flight. They have two main effects on how a paraglider flies.
When the brakes are pulled together they affect the speed and the lift of the paraglider. Similar to the flaps and elevators on a conventional aircraft, causing the paraglider to pitch.
When pulled independently, for either the left or the right they have a combined effect similar to the rudder of a conventional aircraft causing the paraglider to yaw and roll.
What are the brakes for?
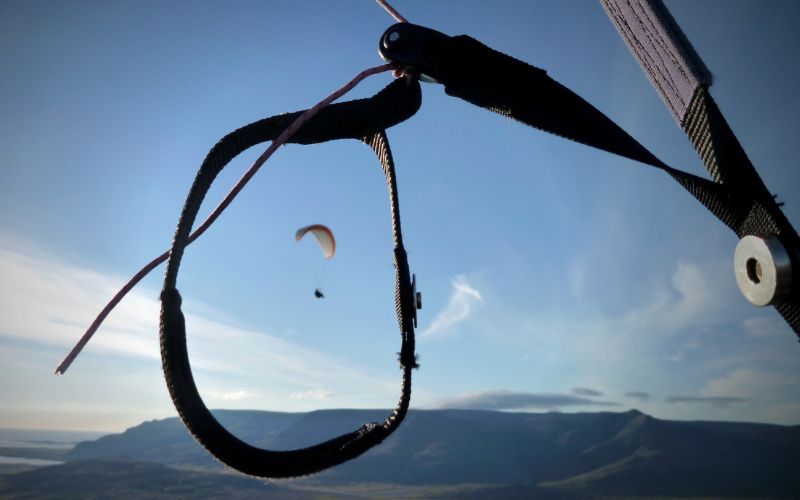
When you apply input on one of the brake lines you are changing the shape of the airfoil causing it to change how the air moves across the wing. This changes the drag and lift characteristics of the paraglider.
Speed Control
The flying speed of the paraglider can be changed with the brakes when applied together at the same time.
This is done by increasing the angle of attack of the glider increasing the drag and the lift created by the wing, and slowing it down.
In extreme cases, this can cause the glider to stall or even fly backward in the air. These situations can be very dangerous and while they are used in SIV training courses they are dangerous and should only be done when the pilot is training or is very experienced.
This effect of slowing the paraglider and increasing lift is exactly what you want when landing that’s why you are taught to flare the paraglider at the landing to slow it down and increase the lift to slow your descent to the ground for a smooth landing.
Note: The use of the speedbar on paragliders generally has a big impact on how the wing behaves with brake inputs. Be sure to read the manual from the manufacturer so you know when and how to use the brakes when on the speed bar.
Some Paragliders advise very little use of the brakes when on the speedbar due to stability issues.
Turning
Turning the Paragldier is done by pulling on one of the brake lines at a time. The left brake to turn left and the right brake to turn right.
When putting on one of the brakes at a time you slow down that side of the wing by increasing its lift and drag, this causes the wing of the paraglider to turn.
This is also why you need to shift your weight onto the side of the paraglider you are turning to. By moving your weight onto the side you are turning to you counteract the extra lift caused by applying the brake on that side.
Use of the Brakes
Knowing how to use the brakes on your paraglider is one of the most important skills to learn and it is something that even experienced pilots need to keep working on for their whole careers.
When NOT to use the Brakes
The brakes of a paraglider are very important but there are times when you should not use the brakes and it can actually be dangerous to do so.
Constant tension on the brakes during normal flight is bad for a number of reasons.
- This reduced the speed of the glider making it less stable.
- It reduces the glide angle of the glider meaning you will not fly as far.
- A stall due to turbulence could happen more easily as the glider is flying slower
Launch and Takeoff
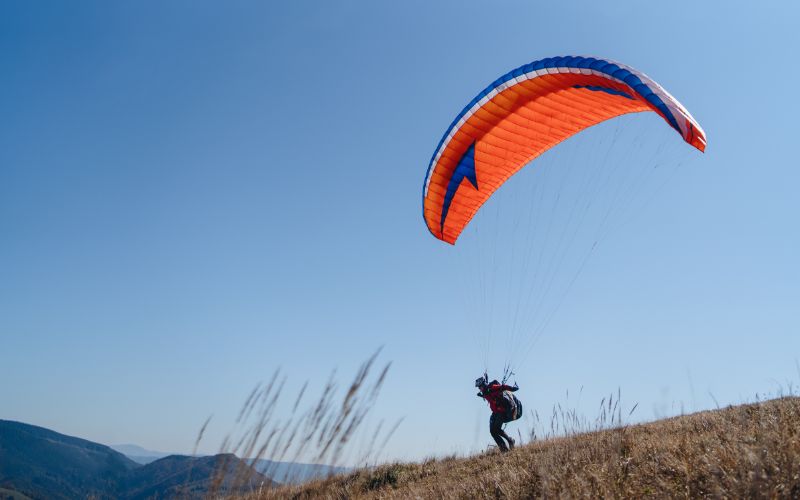
The use of the brakes for launching your paraglider is very important to allow for a smooth and controlled launch and takeoff.
When launching your paraglider you need to use the brakes to slow the wing after the first pullup from the ground. This stops the paraglider above the pilot before it overshoots and causes a frontal collapse.
Turning
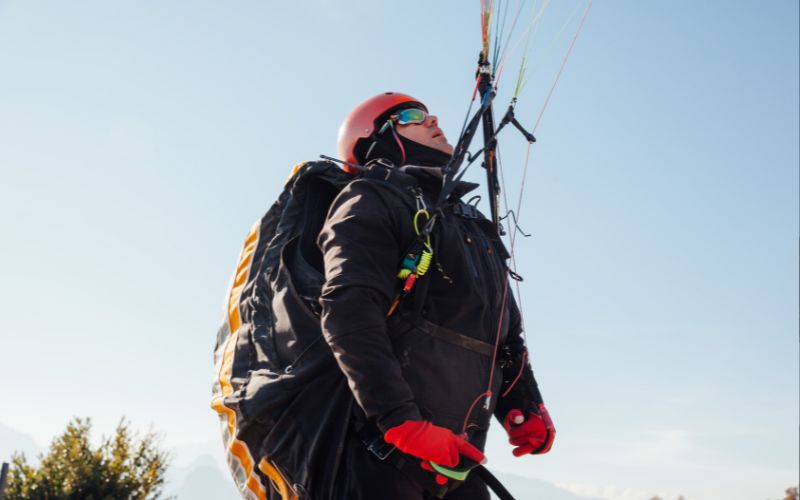
When turning you apply the brake of the direction you want to turn while moving your weight onto that side of the harness. This increases the lift and drag on that side of the glider and combined with your weightshift it slows that side of the wing and starts a turn.
Control and Other Manouvers
There are many other more advanced maneuvers that take different brake inputs. From stalls to wingovers and more. These all need practice and should be learned with the assistance of an instructor to ensure good technique and timing.
Landing
The approach for landing should be done at full speed, with no brake input at all. Until the last moment where the brakes are used to flare just when you reach the ground to stop the wing and slow the descent.
Brakes should not be used at all on approach as the wing needs full speed to maintain lift in case of any turbulence or wind changes close to the ground that could cause a stall or partial collapse.
Landing is one of the most dangerous parts of flying a paraglider so it’s very important to maintain speed to keep life and control until the last moment.
Pro Tip: Don’t flare your paraglider too early. This will cause the pilot to be lifted from the ground up to a few meters followed by an abrupt stall of the wing dropping the pilot directly to the ground. This is a common cause of injury for new pilots.
Dangers of inappropriate Brake Inputs
The brakes on a paraglider are essential, and also a very powerful control. For this reason, using the brakes inappropriately or at the incorrect time can cause big problems from reduced glide distance to the complete collapse of the glider.
Stalls
Stalls occur when the brakes are applied too strongly and for too long causing the glider to lose its forward speed meaning the airflow over the wing stops, the paraglider stops producing lift, and the pilot and wing start to fall.
How to avoid a stall when paragliding
To avoid a stall when paragliding you need to keep up the speed of the wing.
Keeping the speed of the wing up is as simple as keeping your hands up and applying only just brake enough to complete the required turn or movement.
Overshooting
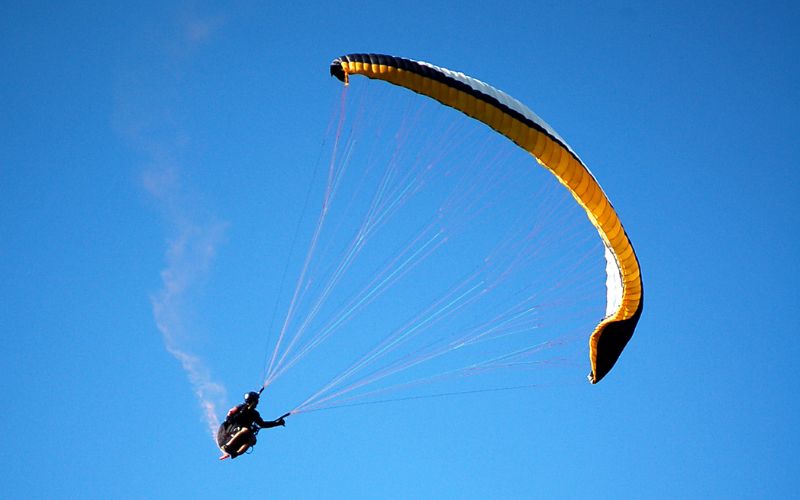
Overshooting of a paraglider is caused by applying the paraglider being slowed down with brake input, or from something else like turbulence in the air.
The overshoot occurs when the wing is flying slowly and suddenly has the brake input released, this allows the wing to accelerate much faster than the pilot below causing the wing to shoot over the pilot to the front and potentially have a front collapse.
Or in very extreme cases the wing can shoot so far forward that it goes under the pilot and the pilot then falls into the wing. If this occurs this is catastrophic and the pilot needs to try to clear themselves from the canopy enough to use their reserve parachute to get to the ground safely.
Others
There are a number of other ways that inappropriate or badly timed brake inputs can cause issues while flying a paraglider, from spins to dangerous pitching. We can’t cover them all here. Please talk to your paragliding instructor about this.
Summary
The brakes are the most important control on a paraglider. They should be used with care and caution but also with power and dedicated movement when required.
Paraglider brakes are essential for a safe and smooth flight and should be treated with care. You should learn how to use them properly from a paragliding school.

